Test-Driven Development (TDD) in Kotlin for Android
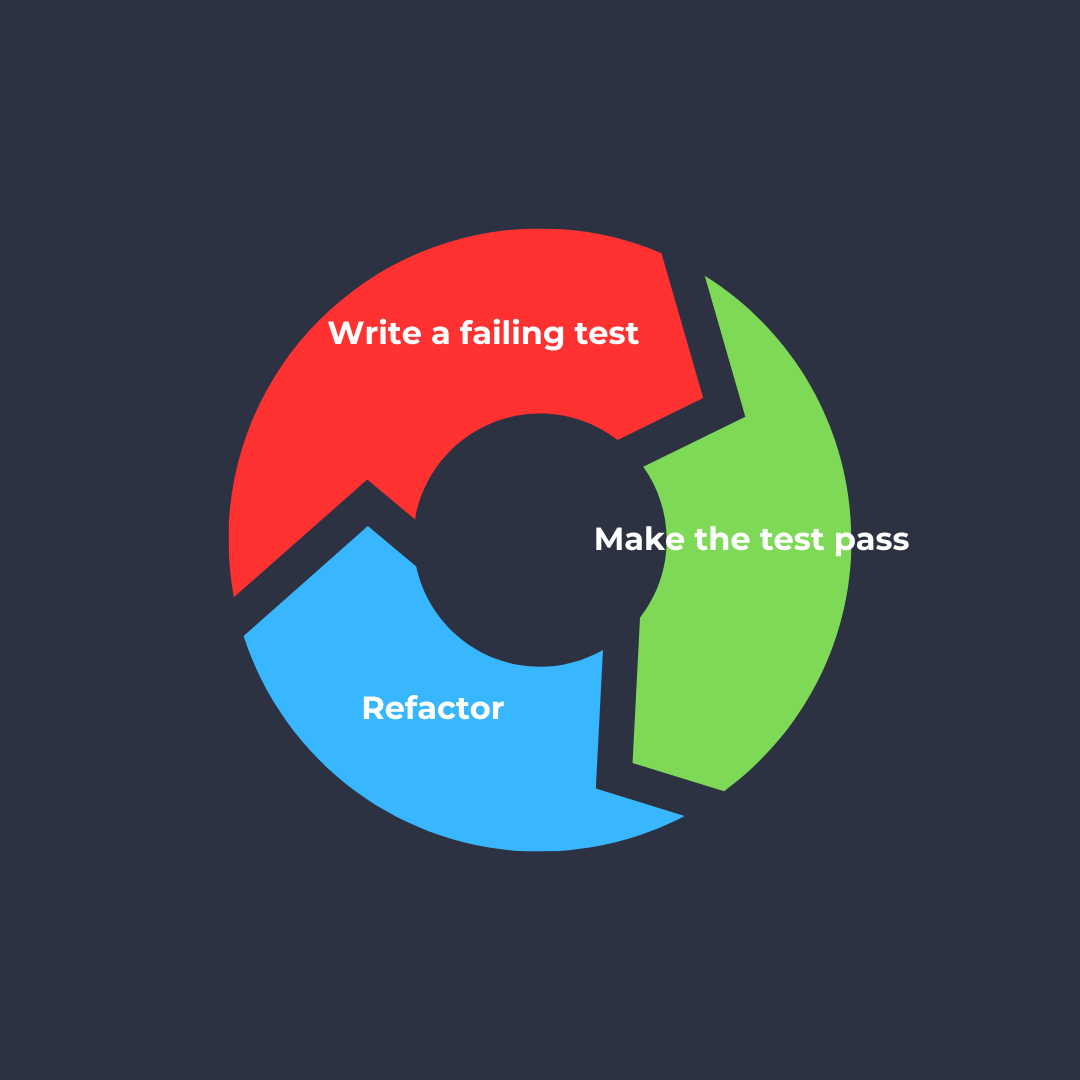
Test-Driven Development (TDD) is a software development practice that emphasizes writing tests before implementing functionality. It follows a Red-Green-Refactor cycle: first, you write a failing test (Red), then implement just enough code to make it pass (Green), and finally, refactor the code while keeping the test green (Refactor). In this post, we’ll explore how to apply TDD in Kotlin for Android development using JUnit, MockK, and Coroutines with a real-world example.

Why Use TDD in Android Development?
- Better Code Quality: Writing tests first ensures better design decisions and maintainability.
- Faster Debugging: Bugs are caught early before they become complex.
- Refactoring Confidence: Tests act as a safety net when modifying code.
- Improved Productivity: Although writing tests first might seem slower initially, it speeds up development in the long run.
Setting Up the Test Environment
Before we begin, let’s add the necessary dependencies to our Gradle file:
| |
Now, let’s create a real-world example demonstrating TDD.
Real-World Example: Fetching Data in a UseCase
We’ll implement a UseCase that fetches data from a Repository and runs it on the IO Dispatcher. We’ll follow the TDD approach.
Step 1: Write a Failing Test (Red)
First, let’s define a test for our FetchUserUseCase. This use case fetches user details from a repository.
| |
Understanding Given-When-Then
Given – Set up the initial conditions or dependencies required for the test.
1
2
val expectedUser = User(id = 1, name = "John Doe") coEvery { repository.getUser(1) } returns expectedUser- This prepares a mock response for
repository.getUser(1)so that it returnsexpectedUser.
- This prepares a mock response for
When – Execute the actual function or use case being tested.
1val result = useCase(1)- This calls the
FetchUserUseCasewith a user ID of1, triggering the behavior we want to test.
- This calls the
Then – Verify that the expected outcome matches the actual outcome.
1 2assertEquals(expectedUser, result) coVerify { repository.getUser(1) }- This checks that the function returned the expected user and that the repository’s
getUsermethod was called.
- This checks that the function returned the expected user and that the repository’s
Step 2: Implement Minimal Code to Pass the Test (Green)
Now, let’s implement the FetchUserUseCase class.
| |
Step 3: Refactor
Since our test is passing, we can clean up or improve our implementation if necessary. Here, the implementation is already clean, so no major refactoring is needed.
Understanding Key Parts
1. Mocking with MockK
We use MockK to mock our repository:
| |
This simulates a function call returning a predefined value.
2. Using Coroutines with Test Dispatchers
We replace Dispatchers.IO with a Test Dispatcher to control coroutine execution.
3. Verifying Function Calls
We ensure that our repository function was called:
| |
This confirms our code behaves as expected.
Best Practices for TDD in Kotlin
- Write Small, Focused Tests: Each test should verify one thing.
- Use Mocks Wisely: Avoid over-mocking; only mock dependencies.
- Prefer Deterministic Tests: Avoid flaky or time-dependent tests.
- Leverage Coroutines Test Utilities: Use
StandardTestDispatcherandrunTest. - Keep Tests Fast: Unit tests should run in milliseconds.
Conclusion
TDD improves code quality and development efficiency. By writing tests first, we ensure reliable and maintainable code. In this post, we built a UseCase that fetches data from a repository while running on the IO Dispatcher, following TDD principles. With MockK and Coroutines, we created a robust testing setup.
Start applying TDD in your Kotlin projects today and see the benefits firsthand!
